Outlook - How to add Shared Mailbox:
About:
This document explains how to add a shared mailbox to Outlook on both Windows and Mac. The steps differ depending on whether you are using Classic Outlook or the New Outlook on Windows.
- Always restart Outlook after adding a shared mailbox.
- Changes may take some time to sync, depending on your account and permissions.
- If the mailbox does not appear after restarting, access may not be correctly assigned.
What is a Shared Mailbox:
A shared mailbox allows multiple users to read and send email from a common mailbox, such as a team or department address. You must have been granted access to the shared mailbox before it can be added to Outlook.
Windows – Classic Outlook:
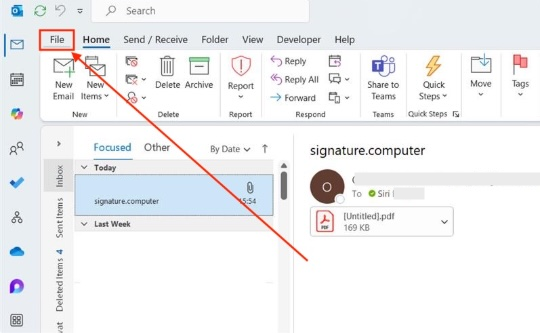
1, Open Outlook and select File.
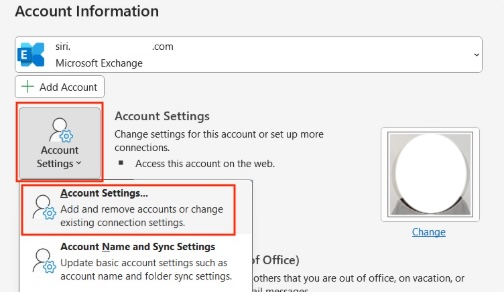
2, Select Account Settings, then Account Settings again.
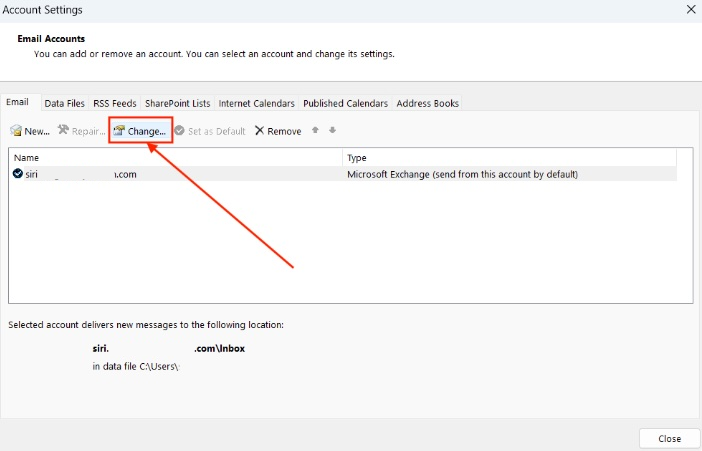
3, Select your account and click Change.
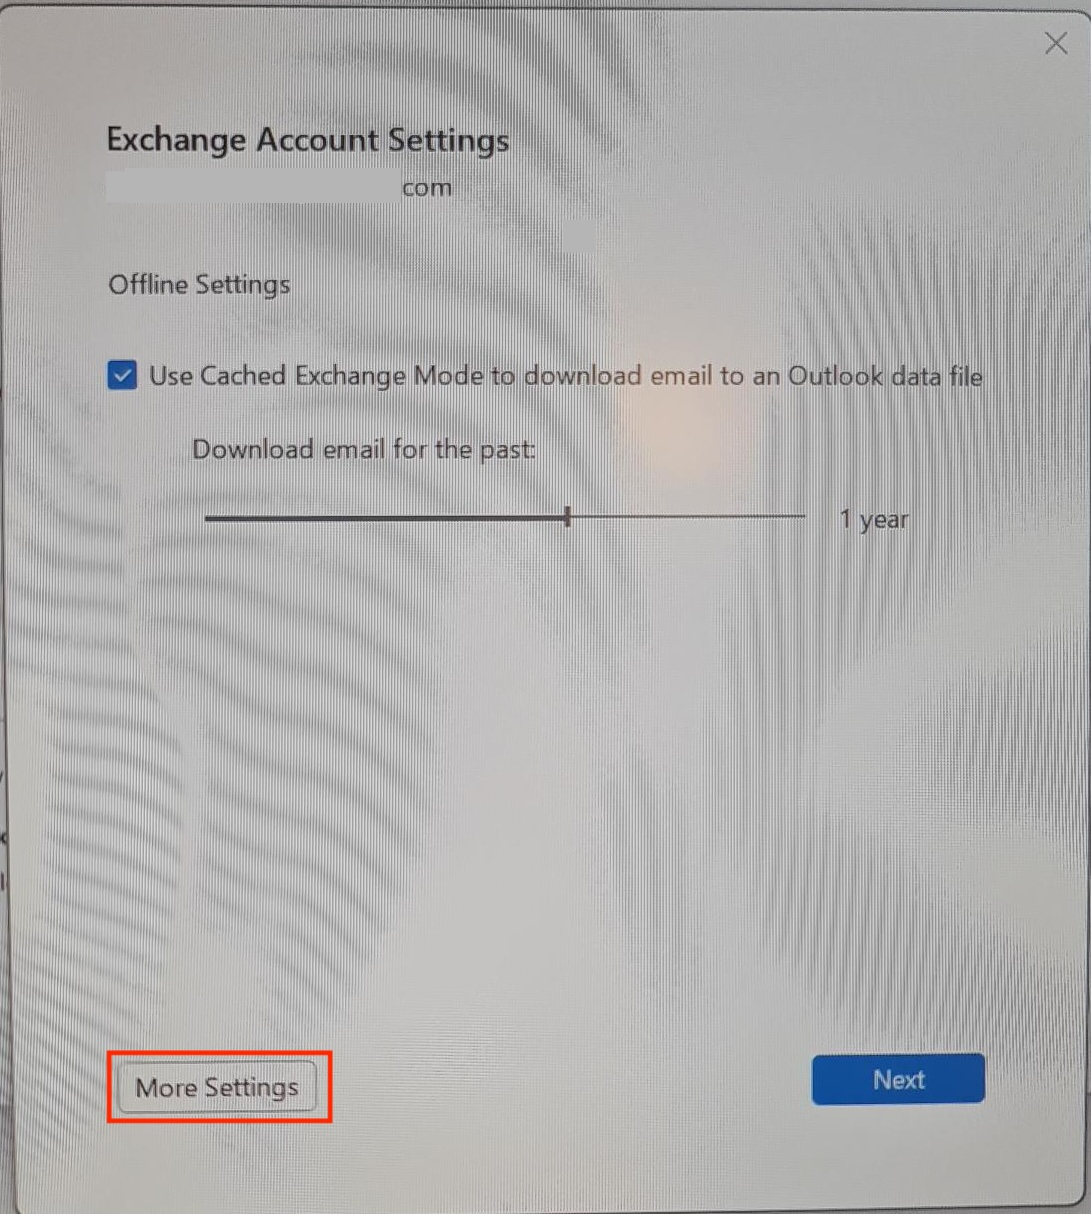
4, Select More Settings.
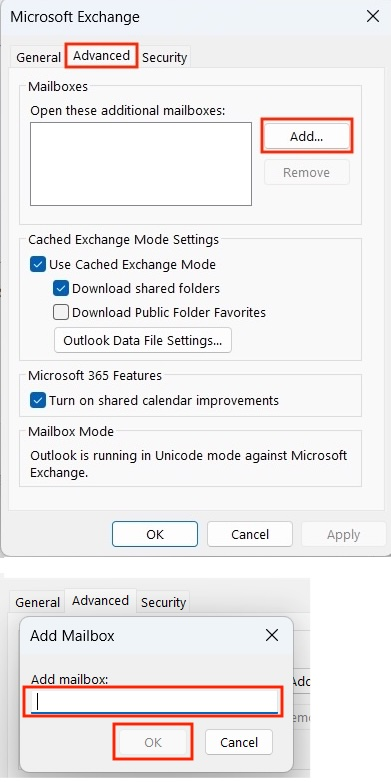
5, Open the Advanced tab. Select Add. Enter the name of the shared mailbox and select OK.
6, Select Apply, then OK, and close Outlook completely and open it again.
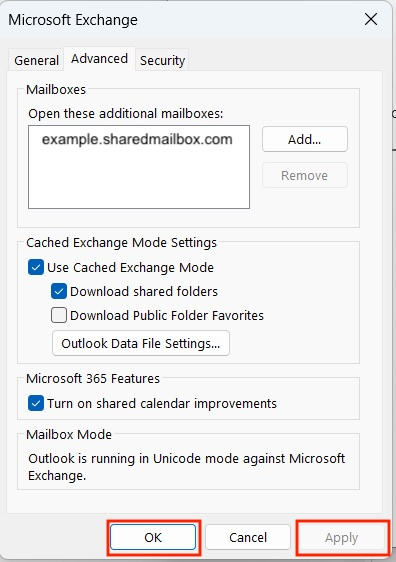
The shared mailbox will now appear in your folder list.
Windows – Classic Outlook:
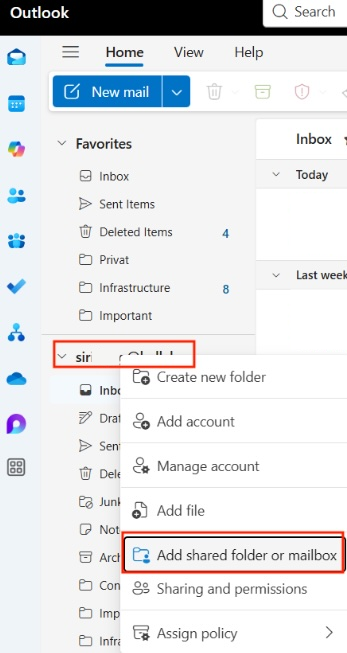
1, Right-click your name in the left-hand folder panel. Select Add shared mailbox.
2, Enter the name or email address of the shared mailbox and click Add. Close Outlook completely and open it again.
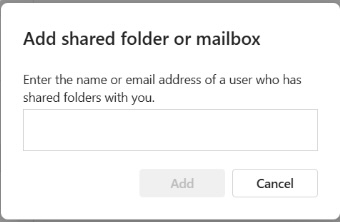
The shared mailbox will now appear in your folder list.
MAC:
You must already have permission to access the shared mailbox.
Once access has been granted, Outlook for Mac will usually add the shared mailbox automatically.
If it does not appear:
- Restart Outlook and allow time for the mailbox to sync.
Manually Add:
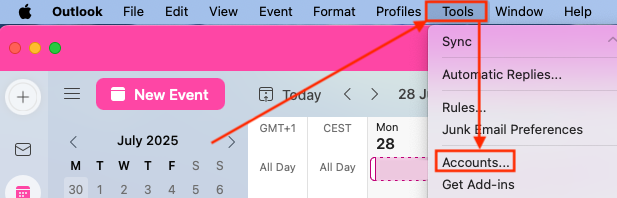
1, Click on Tools and choose Accounts..
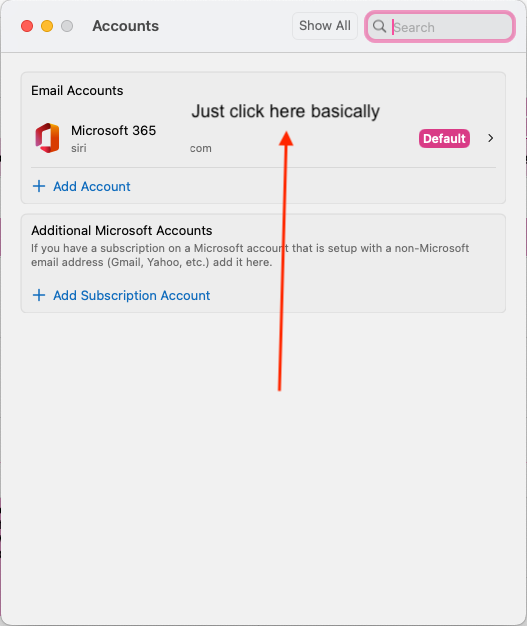
2, Click anywhere in the Email Accounts space.
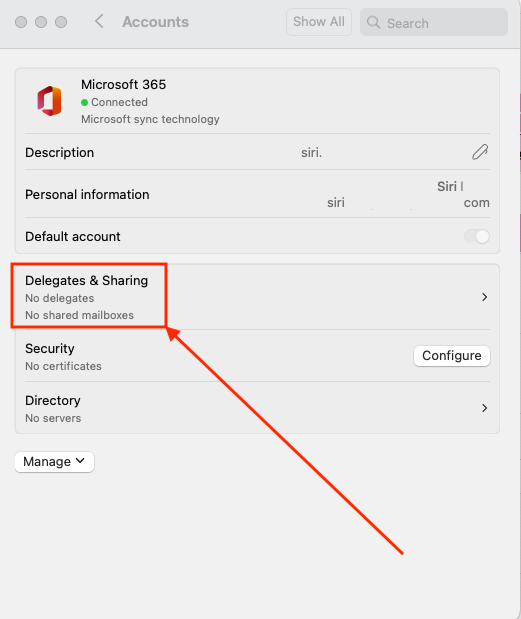
3, Click Delegates & Sharing.
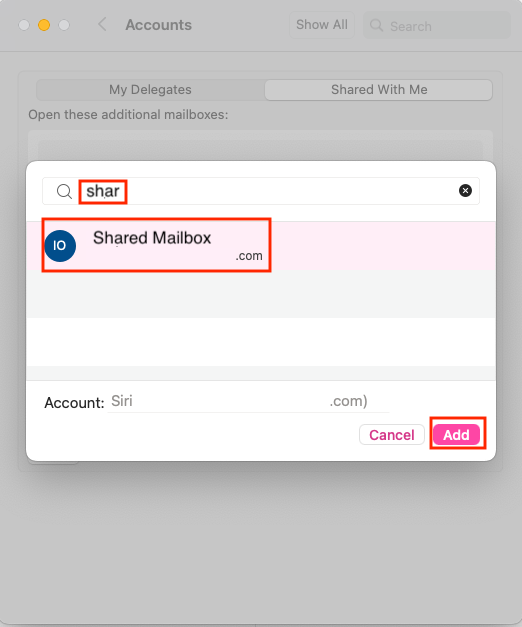
4, Look to the top right corner. Click Shared with me and then the + in the bottom left to add the shared mailbox.
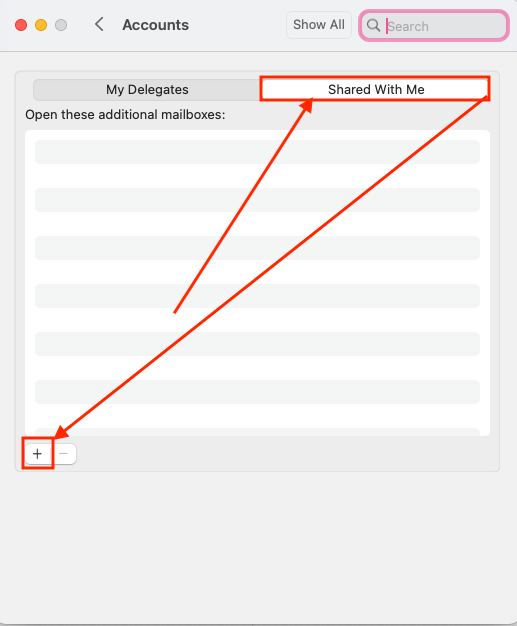
5, Then search for the shared mailbox you need and click Add.
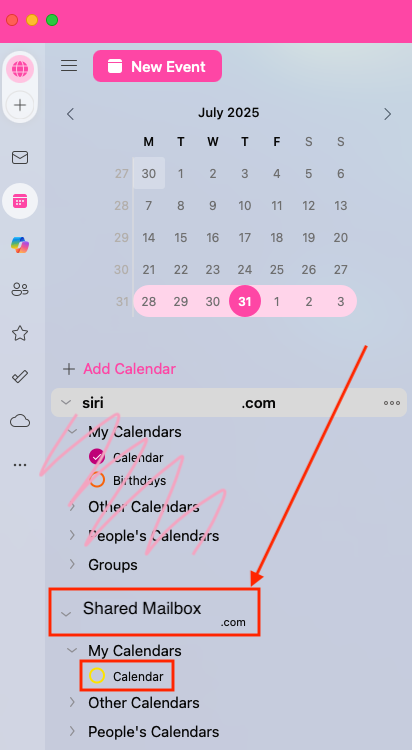
And you are done 😄